The impulse makes sense. You’ve seen the price, you’re handy, and there are kits available online. Why not save some money and do it yourself?
It’s a fair question — and this post gives you an honest answer, not a sales pitch.
The reality is that most DIY patio cover and pergola projects on Vancouver Island run into problems that aren’t obvious at the start. Some of those problems show up immediately. Others show up two winters later. Either way, they tend to cost more to fix than the original install would have.
Here’s what actually goes wrong, and why this climate makes it harder than most people expect.
What DIY Kits Actually Give You
There’s no shortage of pergola and patio cover kits available — from big box stores, online suppliers, and import distributors. Some of them look decent in photos.
What they typically are:
- Pre-cut aluminum or wood components
- Basic hardware
- Generic instructions not written for your specific home or site
- No engineering for your local wind or snow loads
- No drainage system designed for real rain
What they don’t include:
- Site assessment
- Structural attachment planning
- Local climate or permit considerations
- Any accountability if something fails
That gap between what the kit is and what your project actually needs is where most DIY installs start to unravel.
Where It Usually Goes Wrong
1. Attachment to the house
Attaching a structure to your home is not the same as building a freestanding one. When you bolt a patio cover or pergola to your house, you’re connecting it to the building envelope — the framing, the ledger, the waterproofing layer.
Done wrong, this is one of the most common sources of water infiltration in BC homes. A fastener in the wrong location, an unsealed penetration, or an improperly flashed ledger board can lead to rot and moisture damage inside the wall — damage that often isn’t visible until it’s significant.
A professional installer knows how to make that connection properly. It’s not complicated when you know what you’re doing, but the consequences of getting it wrong are serious.
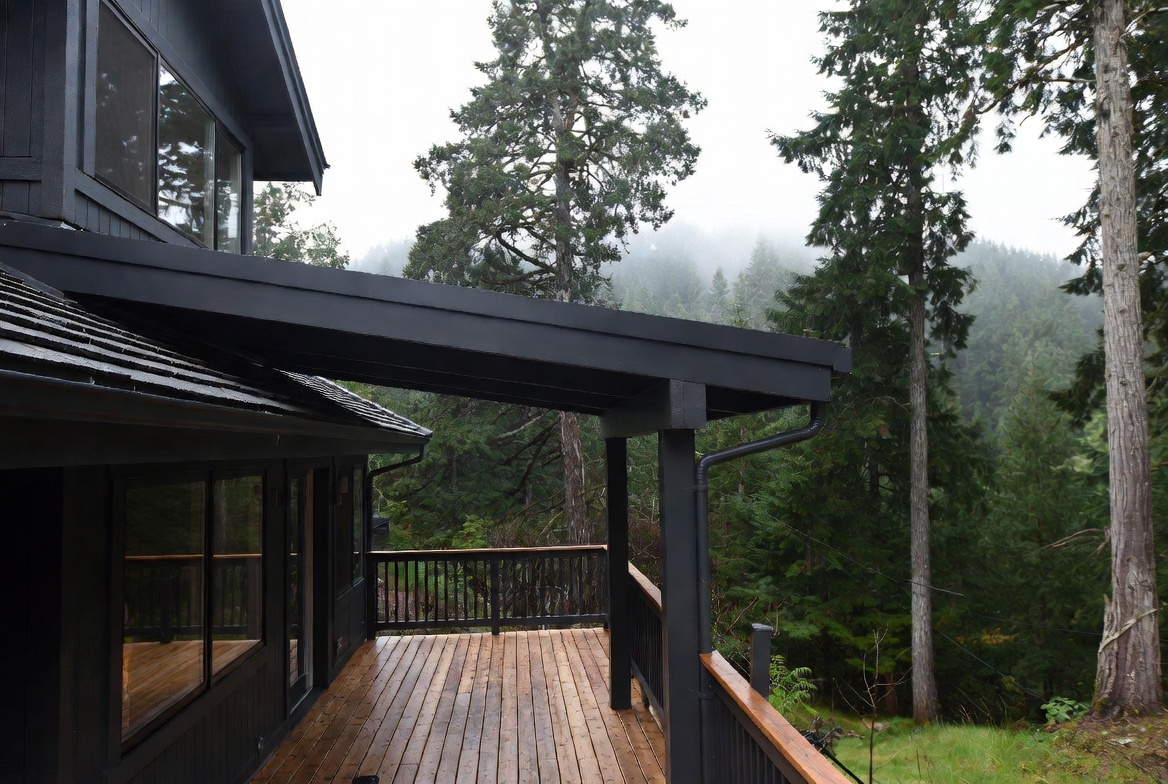
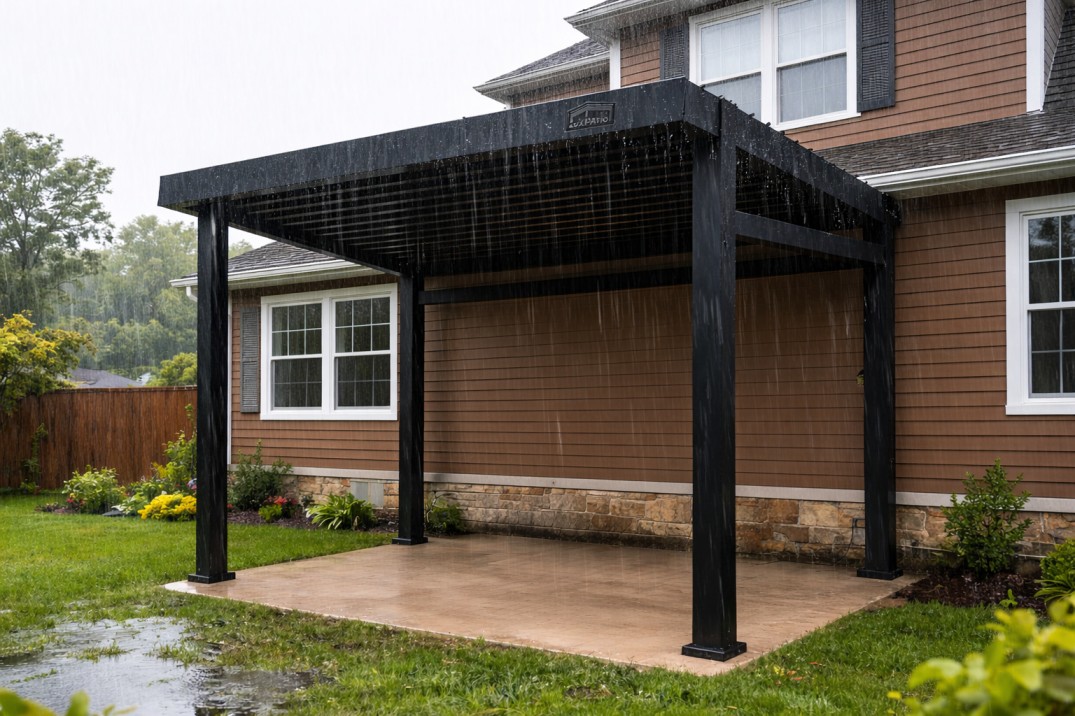
2. Drainage and water management
This is the one that catches most people on Vancouver Island.
In a dry climate, drainage is an afterthought. Here, it’s the whole game. A covered structure that doesn’t manage water properly will pool, leak, and direct runoff in ways that damage your deck, your foundation, or your home’s exterior.
Quality aluminum pergola systems have integrated drainage channels built into the frame — gutters and downspouts that move water off the structure and away from the building. Most DIY kits don’t include this. Most homeowners don’t think about it until they’re standing under a waterfall coming off the edge of their new cover.
For more on how Vancouver Island’s rain and wind affect outdoor structures, this post covers it in detail.
3. Wind loads and structural engineering
Vancouver Island has real wind. Coastal areas in particular see sustained gusts that put meaningful stress on any overhead structure.
Most DIY kits are not engineered for specific wind load requirements. They’re built to a generic standard that may not meet BC Building Code for your location. A structure that isn’t properly engineered for local conditions is a structure that can fail — and an overhead structure that fails is a safety issue, not just a property issue.
4. Permits
Many homeowners skip the permit question entirely when doing DIY installs. That creates two problems:
First, unpermitted structures can complicate home sales — buyers’ agents and inspectors flag them, and you may be required to remove or rectify the work before closing.
Second, if something goes wrong with an unpermitted structure, your home insurance may not cover it.
A professional installer knows what requires a permit in your municipality and handles the process. With DIY, that responsibility falls entirely on you.
5. Finish quality and long-term performance
Coastal BC is hard on materials. Salt air, moisture cycling, UV exposure, and temperature variation degrade finishes faster than most inland climates.
Quality aluminum systems use powder-coated finishes designed to hold up in these conditions. Lower-cost kit materials often use thinner coatings that chalk, fade, or corrode within a few years.
The structure might look fine when it goes up. The question is what it looks like in year three or year five — and whether it’s still performing the way it should.
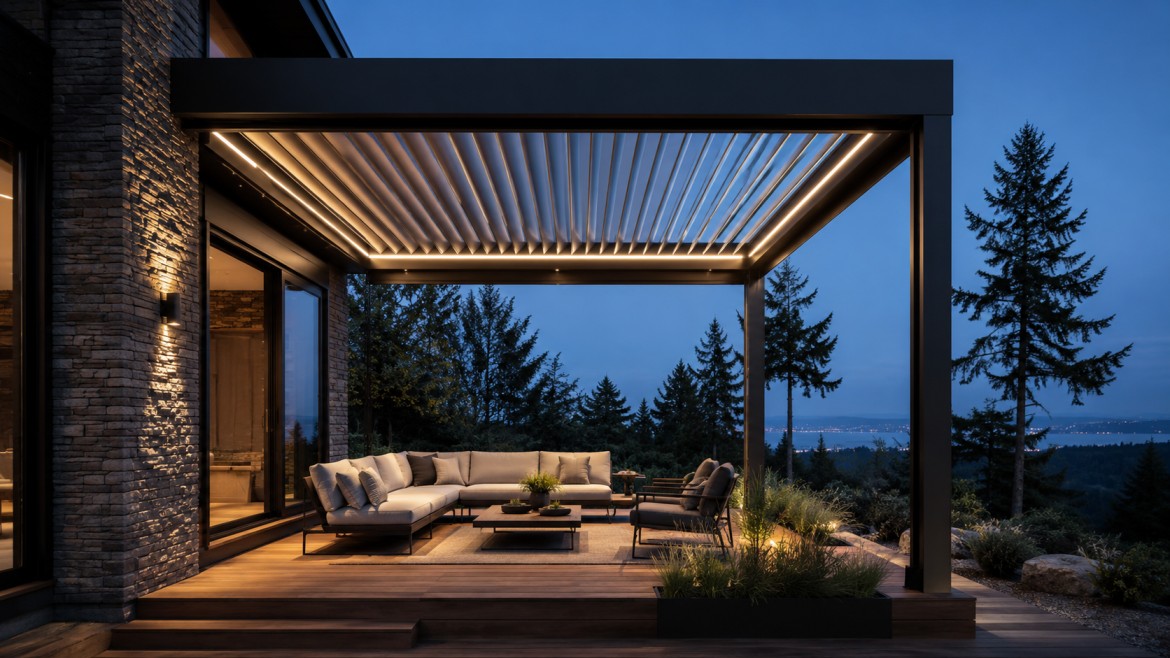
Louvered Pergolas Are a Different Category Entirely
Everything above applies to patio covers. For louvered pergolas, the complexity goes up significantly.
A louvered pergola is a mechanical system — motorized or manually adjustable louvers, integrated drainage, and in many cases electrical components for lighting, heaters, or sensors. Installing one isn’t a carpentry project. It requires precise alignment, proper sealing, and an understanding of how the system operates under load.
Manufacturers of quality louvered pergola systems typically require professional installation to honour the warranty. A DIY install on a louvered pergola almost always voids the coverage — which means if something fails, you’re paying out of pocket for a system that cost $16,000 or more.
If you’re weighing the cost of a louvered pergola, this breakdown of what goes into the price is worth reading before you decide.
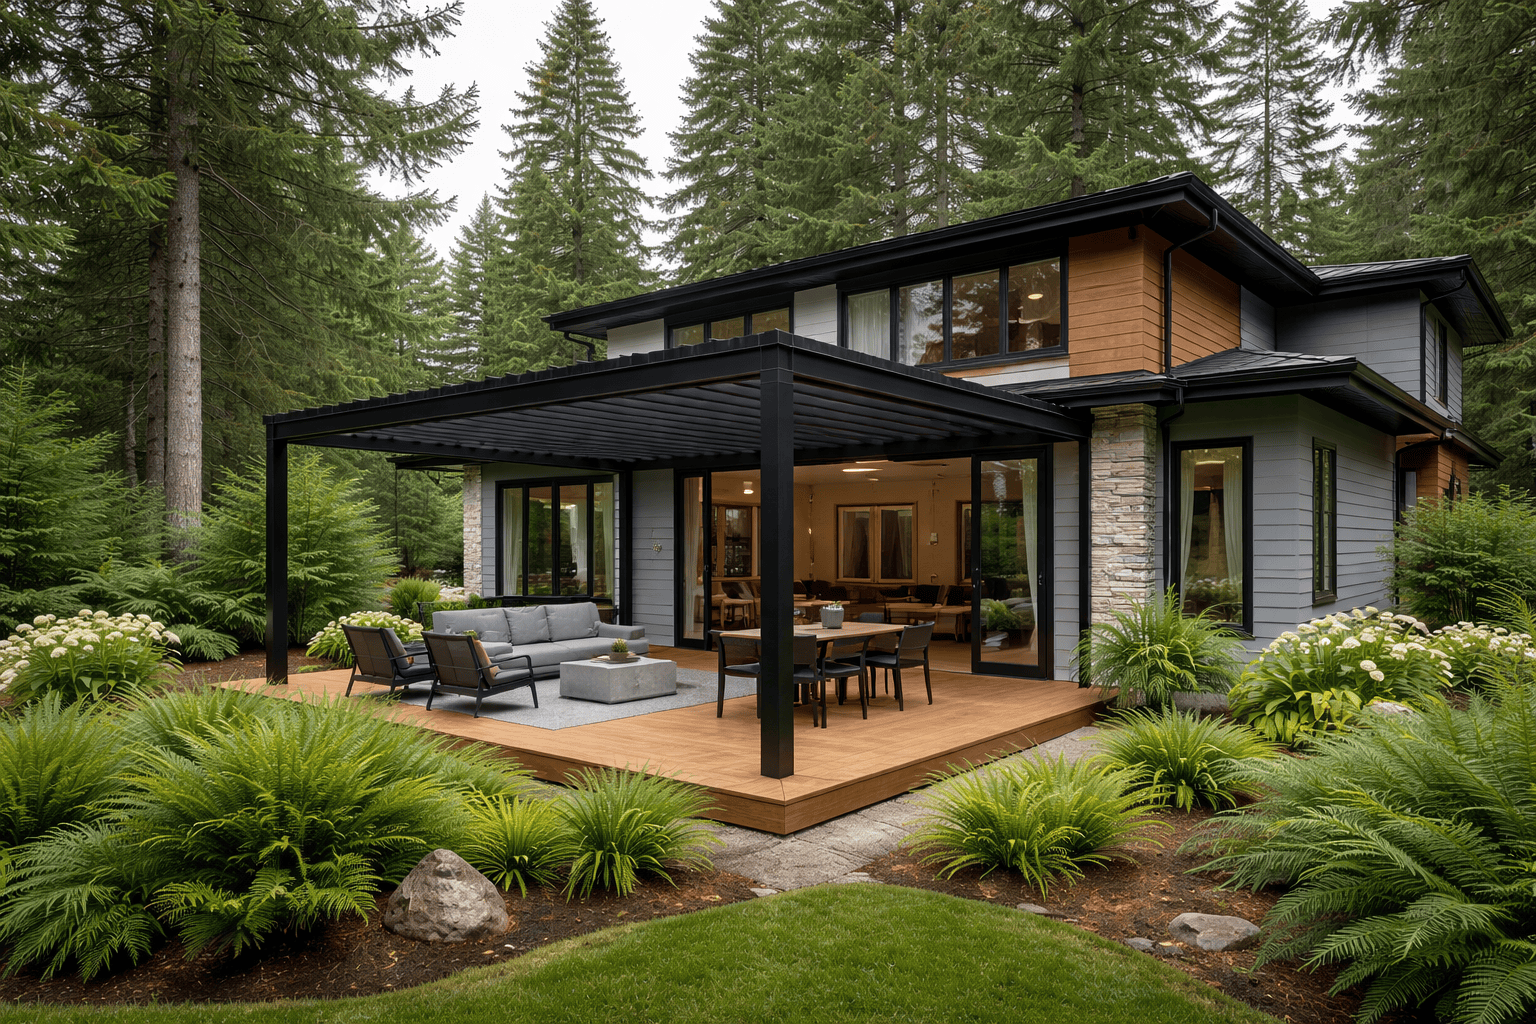
What Professional Installation Actually Includes
When Aspire Pergolas installs a patio cover or louvered pergola, here’s what that involves:
- Site assessment and measurement
- Structural attachment planning specific to your home
- Proper flashing and waterproofing at all connection points
- Integrated drainage designed for Vancouver Island rainfall
- Hardware and fasteners rated for coastal conditions
- Permit handling where required
- A finished result that performs the way it’s supposed to
You can also see examples of completed installs in our project gallery.
The Honest Cost Comparison
DIY kits are cheaper upfront. That’s real. But the total cost picture is different when you factor in:
- The time investment (more than most people estimate)
- The cost of tools you may need to rent or buy
- Redoing work that doesn’t come out right the first time
- Repairs if water management or attachment fails
- Potential permit issues down the line
For most homeowners, the gap between DIY and professional installation is smaller than it looks once all of those factors are in the picture.
Still Have Questions?
If you’re unsure whether a professional install is right for your project, our FAQ page covers a lot of the common questions we hear.
And if you’re ready to talk through your specific space and what makes sense for your home, we’re happy to walk you through the options.